Keycloak is an open source identity and access management suite managed by RedHat. Keycloak as an IAM solution eases the application development as the developers can focus on the actual business development without worrying about the authentication\authorization provider implementation. This article intends to list down the steps to install and Configure Keycloak in Windows OS in the standalone mode.
What are the features of Keycloak?
Keycloak is very advantageous in a multitude of aspects:
- Support for user federation
It is possible to integrate Keycloak with LDAP or Active Directory servers with very minimal configuration. Hence, it is very easy to use the directory credentials in any application with Keycloak as the IAM solution. - Support for the industry standard authorization protocols
Keycloak supports authorization protocols such as OpenID Connect, SAML and OAuth 2.0. Hence, enterprise applications integration with Keycloak will never be tedious. - Single-Sign On
With this feature, users can login to the Keycloak application and the same session can be used for authenticating different applications - Admin Console
This is one of the key attractive features of Keycloak. This simplifies the activities of the administrator. This is a GUI console with which an administrator can do the necessary configuration activities. These include the management of realms, clients, roles, groups, users and federations. - Easy integration with SAML and OIDC providers
With Keycloak admin console, it is very easy to integrate any existing SAML 2.0 or Open ID Connect providers. - Social Login Support
Keycloak can utilize the social login sessions for the application logins with bare minimal settings in the admin console.
How to install and configure Keycloak in Windows Desktop?
Java runtime is a prerequisite for Keycloak installation and configuration. Readers may follow the JRE installation procedure listed here, if needed.
- Download Keycloak zip version from https://www.keycloak.org/downloads
- Extract the zip file to a suitable location
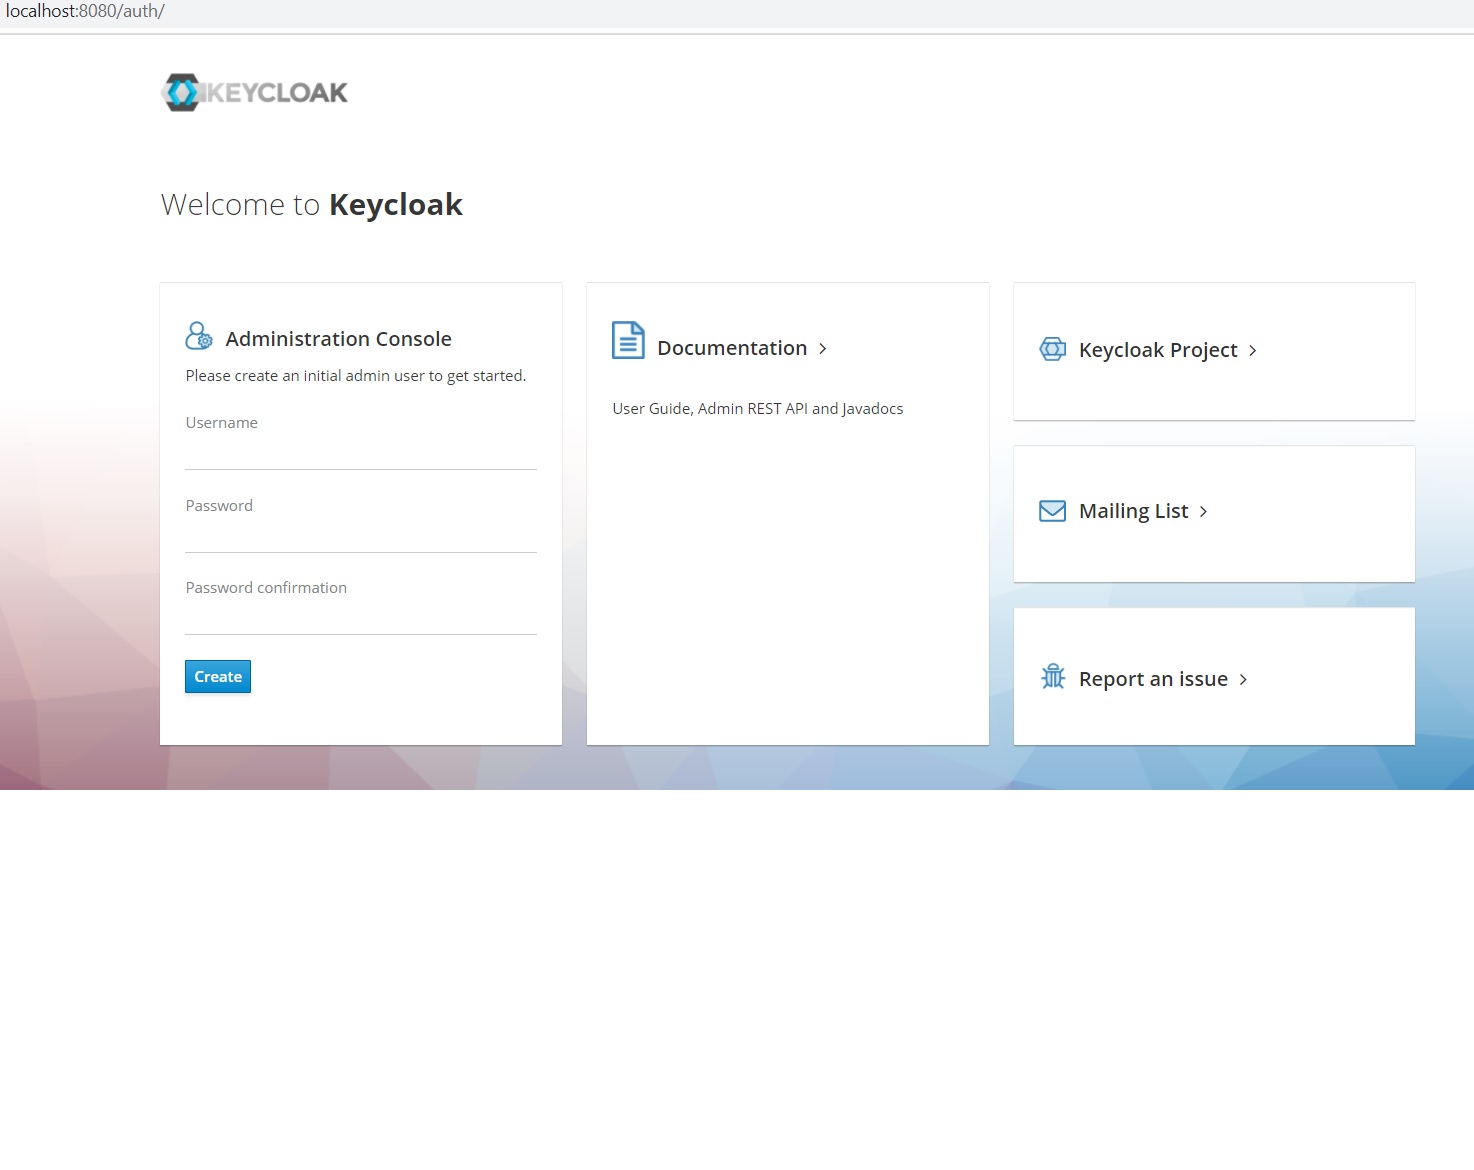
- Now go to the extracted directory and run the standalone.bat file in the bin folder, either by clicking on the batch file or running the same via the Windows shell. Once the shell shows a successful startup, the administrator console will be accessible via http://localhost:8080. Each Keycloak instance require an administrator credential and the same has to be set in the very first access of the console.

- Administrator can create a suitable and secure user name and password for the console. Soon after the administrator credential setup, administrator can login and make the necessary settings changes. By default, administrator has access to the ‘master’ realm and it is possible to do any configuration in that. Users may create and use their own realms as well.

- Create the required clients in the selected realm and administrator can then proceed with group/role/user/federation management.
How to change the default port of administrator console?
By default, 8080 is the HTTP port of JBoss/WildFly server, which Keycloak uses to run the administrator console. Users may update the port in the standalone.xml in the configurations directory to start in a different port.
Alternatively, users may provide the required binding port as an incremental parameter while starting , if opt to start the standalone.bat through the Windows shell:standalone.bat -Djboss.socket.binding.port-offset=10
In this case, the actual administrator console port is the sum of the default port(8080) and the offset.
How to change the binding IP address of administrative console
The Keycloak instance may bind to an IP address by supplying a -b value while starting, anytime after the administrator user configuration.
standalone.bat -b xxx.yyy.zz.aa
References
- Keycloak official page: https://www.keycloak.org/getting-started