In just previous chapter we discussed about the Web service support in J2EE.There we discussed about JAX-WS and JAX-RS. This JAX-WS Tutorial gives an overview about the JAX-WS specification .Also implementation of JAX-WS web services is explained with suitable example.
An overview to JAX-WS
JAX-WS is the Java API for XML Web services.It provides support for SOAP(Simple Object Access protocol) based web services.
Features of JAX-WS
- Requests and responses are transmitted as SOAP messages(XML files) over HTTP
- Even though SOAP structure is complex , developer need not bother about the complexity in messaging. The JAX-WS run time system manages all the parsing related stuffs.
- Since JAX-WS uses the W3C defined technologies , a SOAP web service client can access a SOAP web service that is running in a non java platform.
- A machine readable WSDL (Web Service Description Language) file which describes all the operations about a service can be present in case of SOAP web services
- Annotations can be used with JAX-WS to simplify the development
JAX-WS implementations
There are several implementations for JAX-WS. Some of them are :
- Apache Axis
- Apache cxf
- JBossWS
- Metro Project in Glassfish
JAX-WS Example
The Software and Tools required are :
1)JDK 1.6
2)Eclipse Indigo
3)JBoss AS 7.0
4)SOAPUI Community Edition
Steps in creating a JAX-WS web service .
Step 1) Download and install JDK if it is not preinstalled.In this example we are using JDK 1.6
Step2)Download and extract eclipse Indigo.Download Link
Step 3)Download and extract JBoss AS 7.0.Download Link
Step 4)Download and install SoapUI.Download Link
Step 5)Open eclipse in a suitable workspace and create a dynamic web project
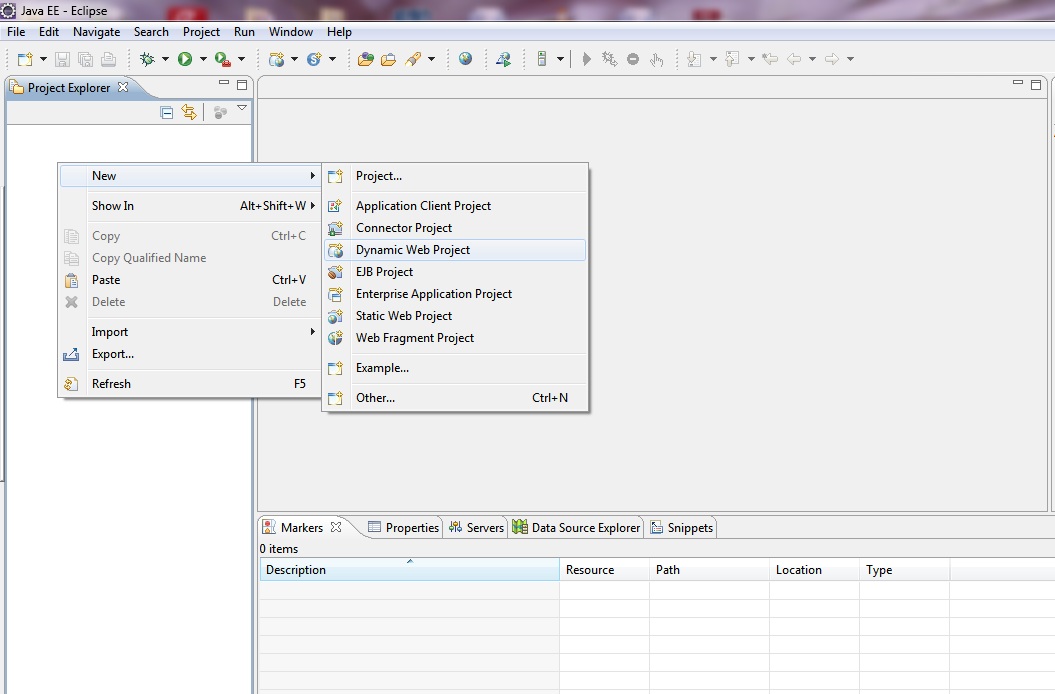
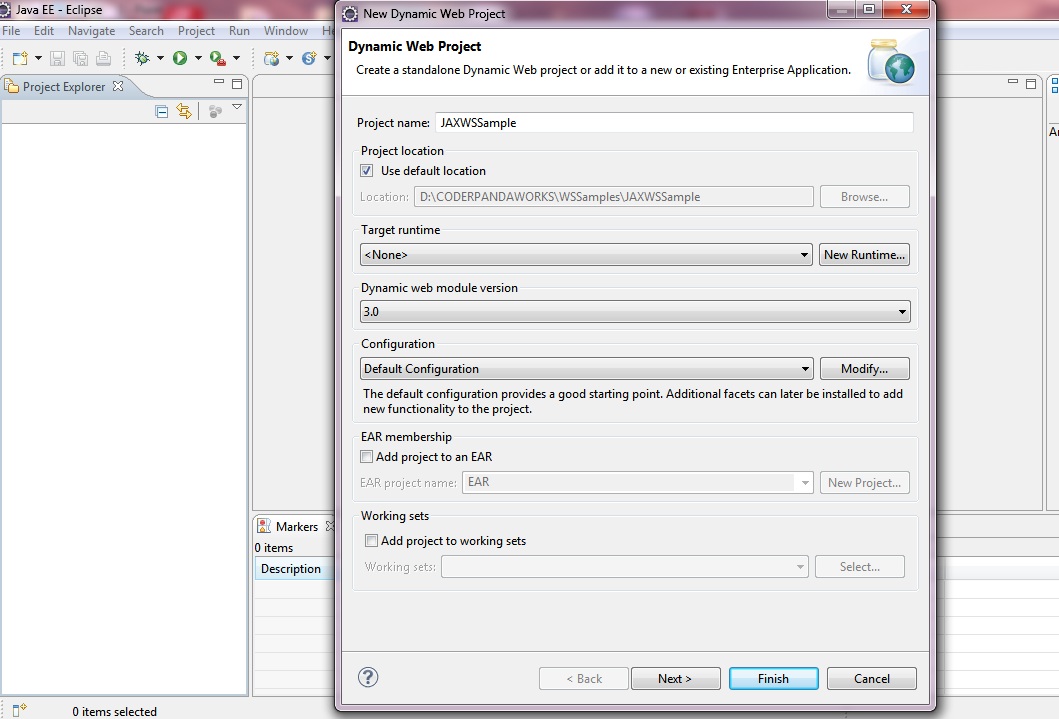
Step6)Give a suitable name to the project and press Next
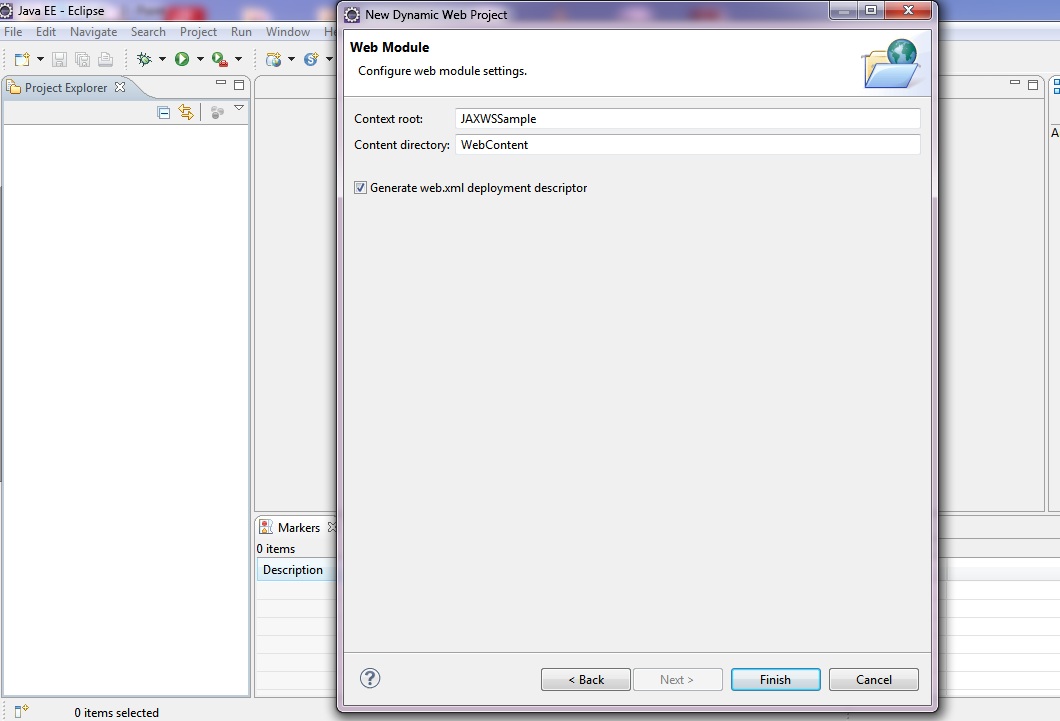
Step 7)Press Finish
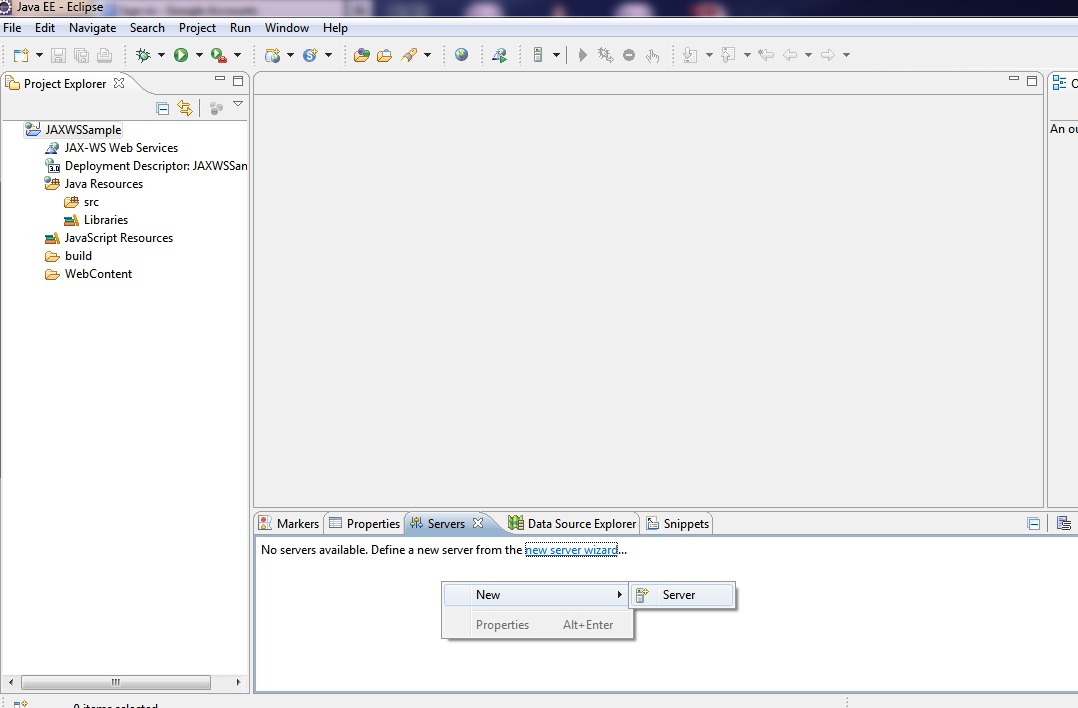
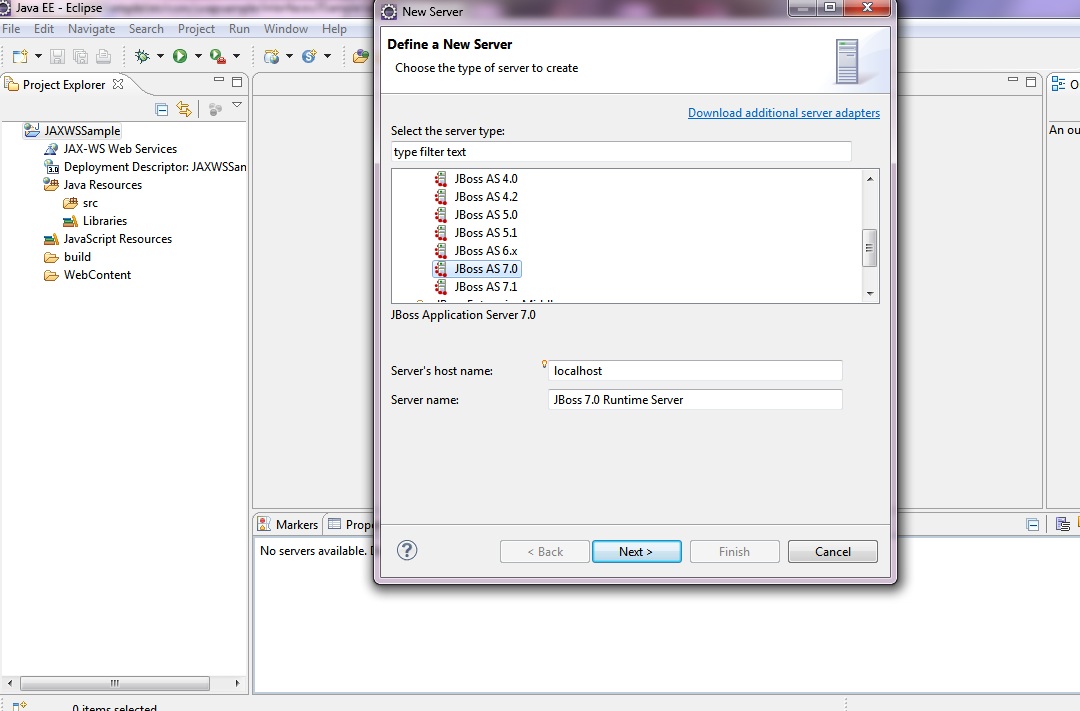
Step 8)In the server console , right click and create a new server instance
Step 9) Choose the server
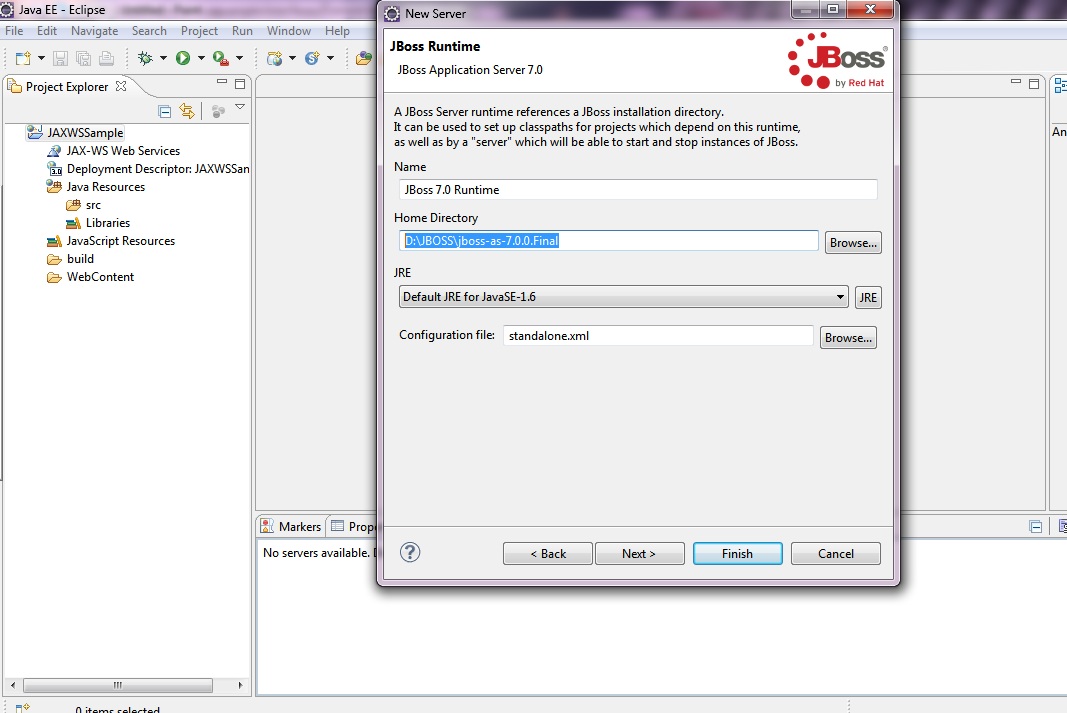
Step 10)Browse the JBoss server location
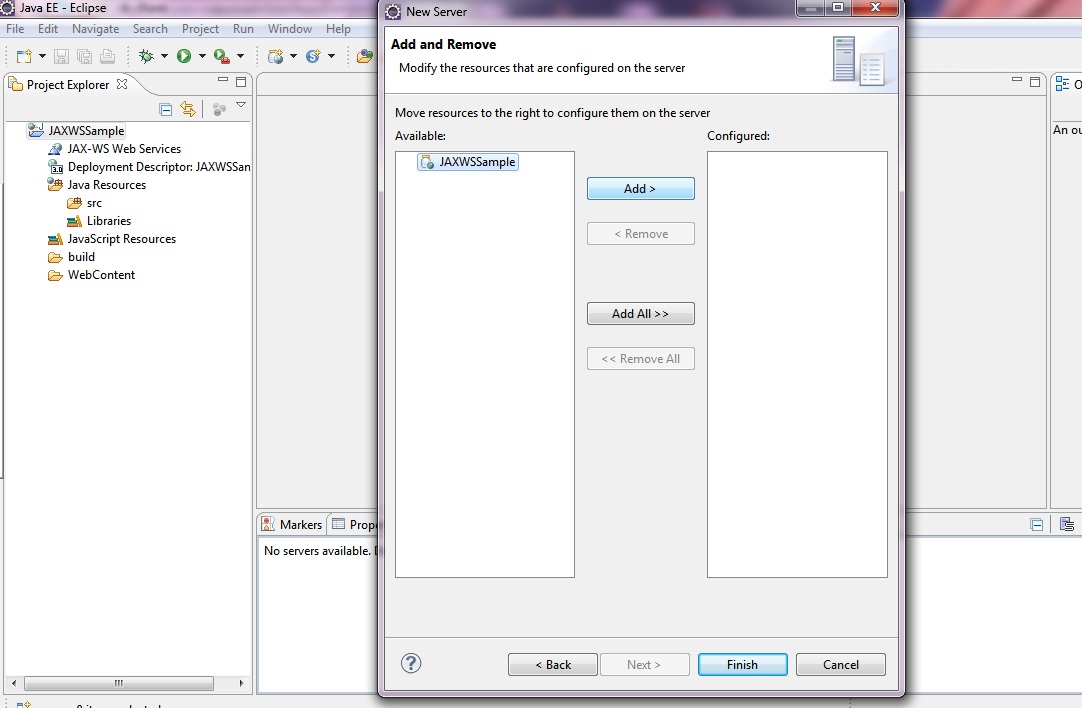
Step 11)Add the created project to server
Step 12)Now let us create two packages in src folder of the newly created project.One package for the interfaces and other for concrete implementations.In this case we are creating thepackages com.soapsample.interfaces and com.soapsample.services
Step 13)Download the JAX-WS RI implementation and put the jar files in the lib folder to the \WebContent\WEB-INF\lib of the created project.In this example we usedJAX-RS RI 2.0 . JAX-WS RI can be downloaded from the Metro project page
Step 14)Create the interface for our web service. Here we are developing a web service which gives a string message as output.So the interface :
ISampleService.java
package com.soapsample.interfaces;

import javax.jws.WebMethod;
import javax.jws.WebService;
import javax.jws.soap.SOAPBinding;
import javax.jws.soap.SOAPBinding.Style;

@WebService
@SOAPBinding(style = Style.RPC)
public interface ISampleService {

@WebMethod
public String getMessage();
}
Step 15)Create a concrete implementation of the above interface
package com.soapsample.services;

import javax.jws.WebService;
import com.soapsample.interfaces.ISampleService;

@WebService(endpointInterface = "com.soapsample.interfaces.ISampleService")
public class SampleService implements ISampleService {

@Override
public String getMessage() {
return "This is a message from SOAP Web Service";
}
}
Step 16)Create a sun-jaxws.xml in \WebContent\WEB-INF of our project
Step 17)Add the following entries to the web.xml inside the webapps tag.
		com.sun.xml.ws.transport.http.servlet.WSServletContextListener


		sampleservlet
		com.sun.xml.ws.transport.http.servlet.WSServlet


		sampleservlet
		/sampleservlet
18)Build the project and publish it to server.Then start the server.Once the application is started the message ‘Deployed “JAXWSSample.war ‘ would be displayed in the console
19)Now open any browser and go to the url : http://localhost:8080/JAXWSSample/sampleservice
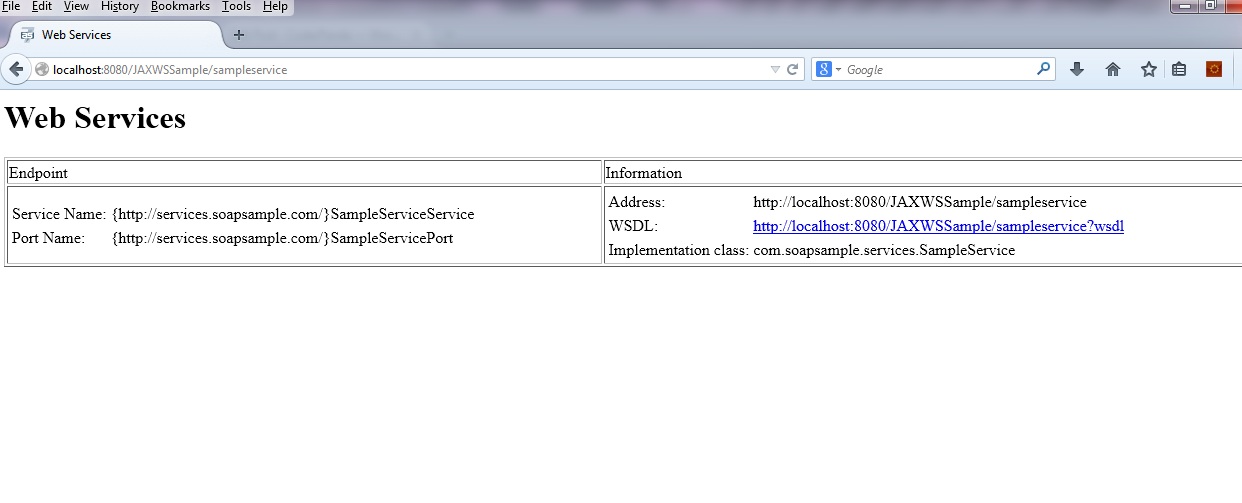
The WSDL details would be displayed
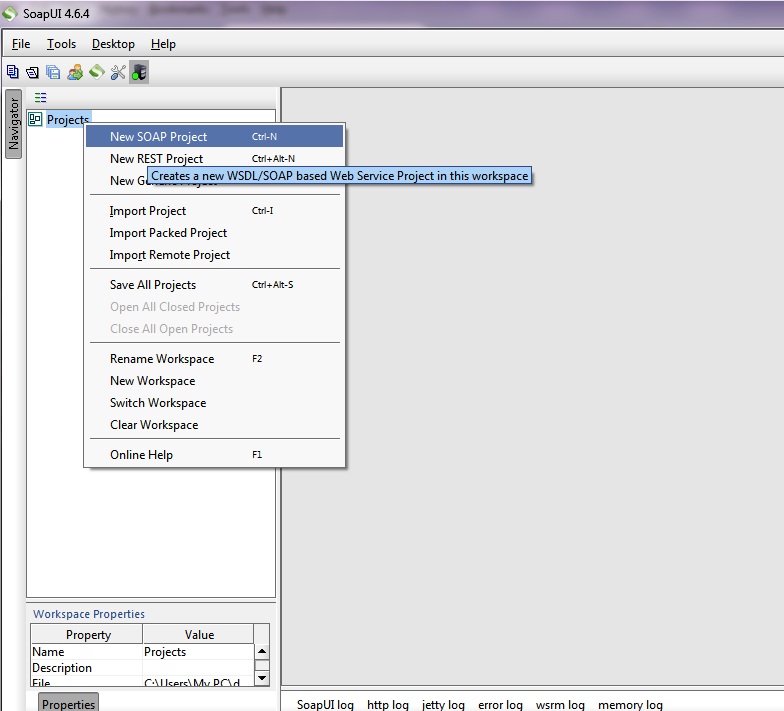
20)Now open SoapUI and right click on the projects option
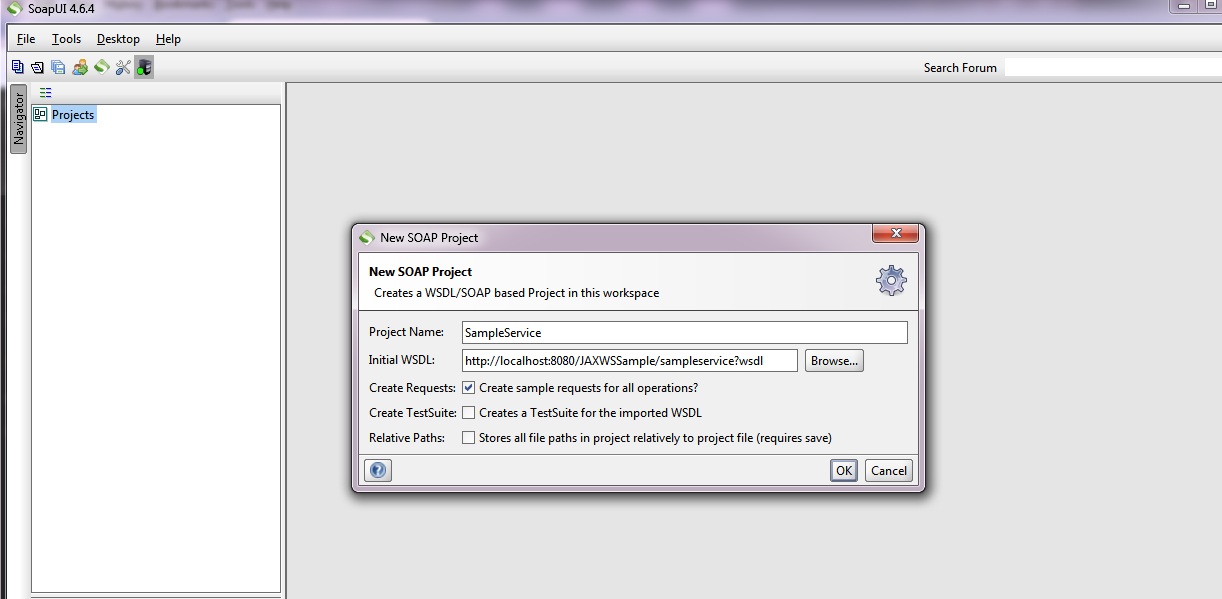
21)Give a project name and specify the WSDL value and press ‘OK’ button.
22)Now the following screen would be displayed.
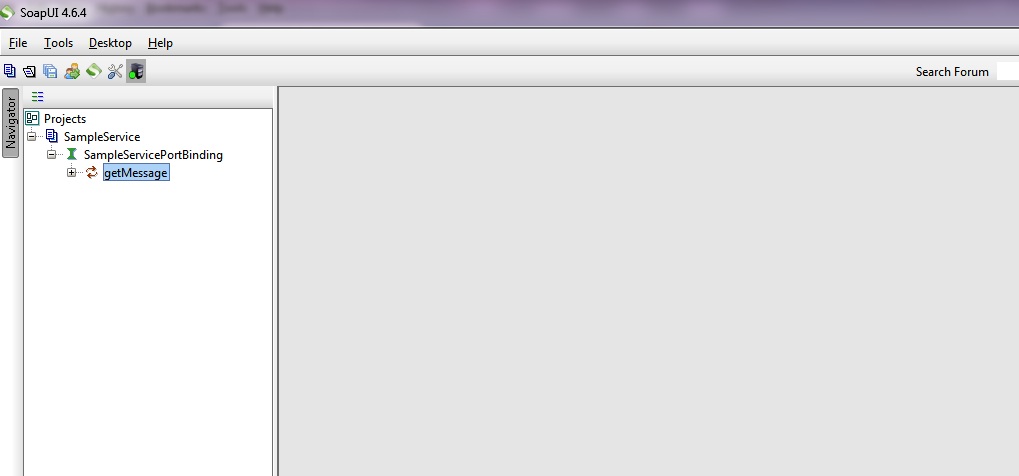
23)Expand the getMessage tree and double click on the request 1.
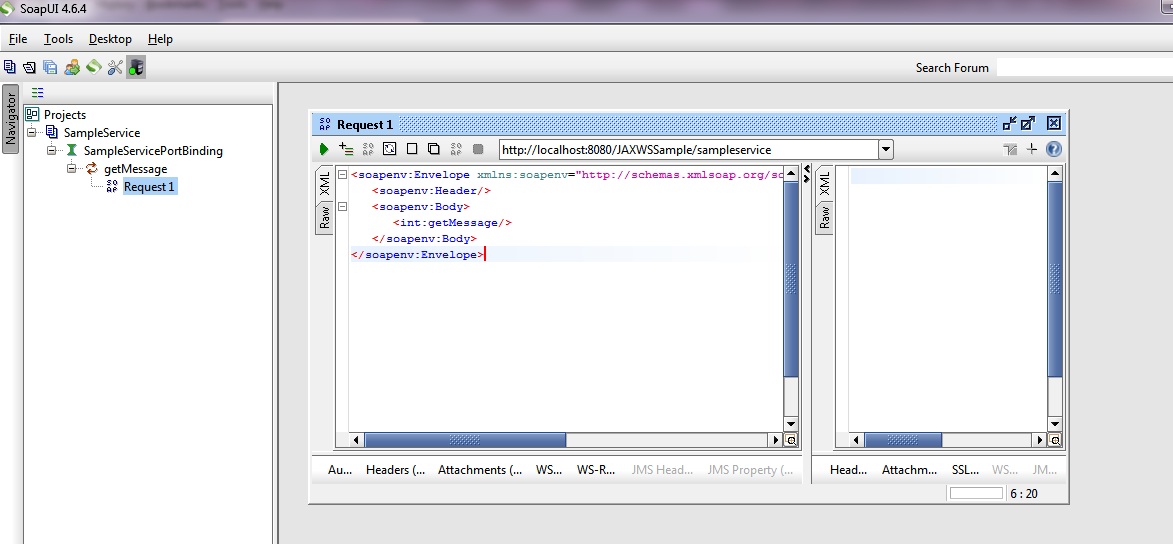
24)Run the request 1 by clicking on the Run option.Then the output would be displayed
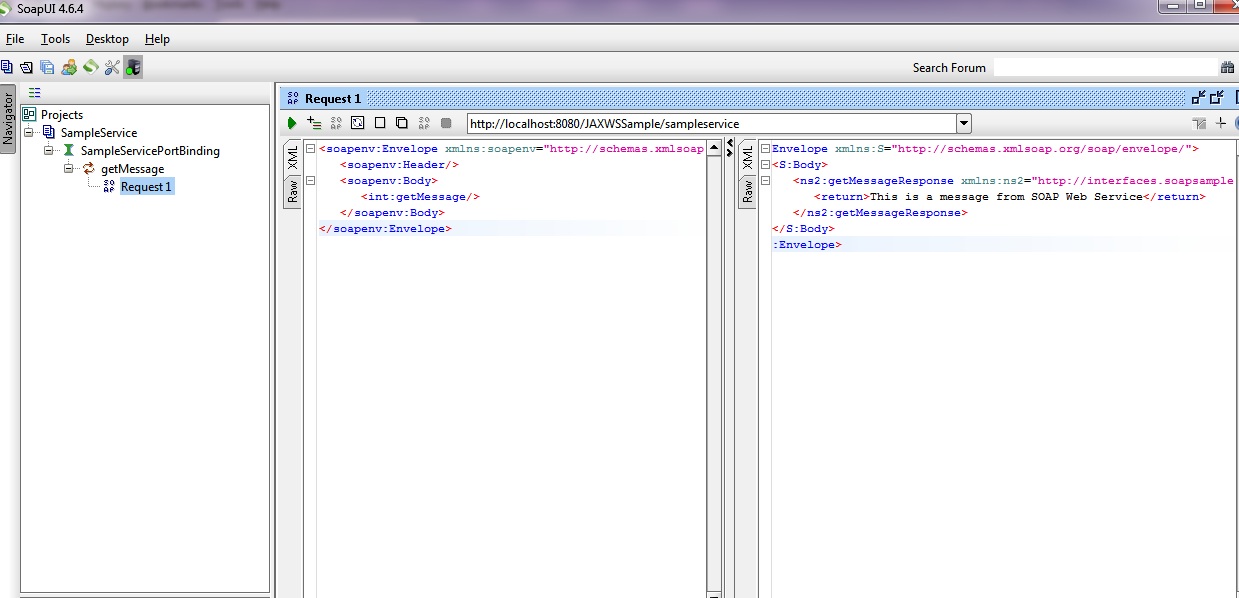
So we got the output of JAX-WS based web service using SoapUI.
Now let us create a client for the above deployed web service.
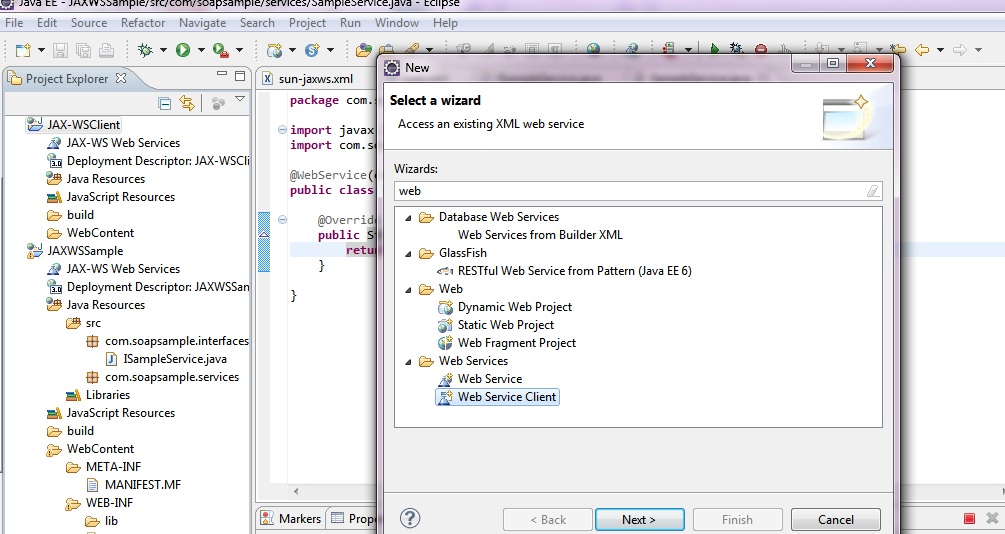
25)Create a new Dynamic web project .Let it be JAX-WSClient in this case .Right click on the project .Then navigate to New–>Other–>Web service Client
26)Press Next and then browse .Now give the WSDL path
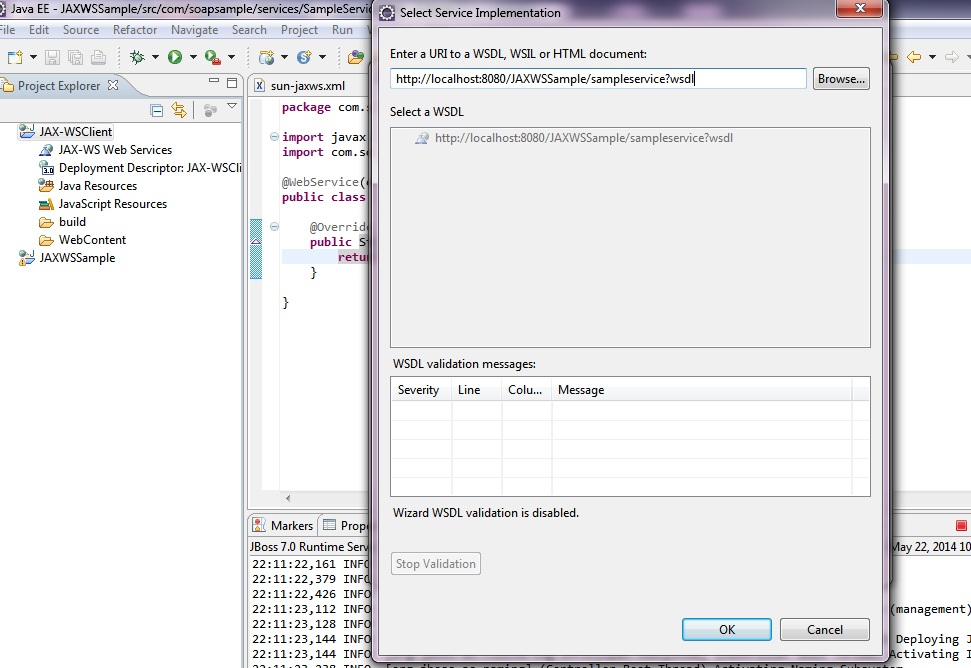
27)Now press OK.In the next screen , drag the slider down to ‘develop’ level
 28)Now press Finish.Java files would be created in the JAX-WSClient project.
29)Now create a main class in a suitable package of newly created client project.
package com.soapsample.main;

import java.rmi.RemoteException;
import javax.xml.rpc.ServiceException;
import com.soapsample.interfaces.ISampleService;
import com.soapsample.services.SampleServiceServiceLocator;

public class JAXWSClient {

public static void main(String[] args) {
try {

ISampleService service = new SampleServiceServiceLocator()
.getSampleServicePort();
System.out.println("Message from Service :" + service.getMessage());
} catch (ServiceException e) {
e.printStackTrace();
} catch (RemoteException e) {
e.printStackTrace();
}
}
}
The SampleServiceServiceLocator belongs to the classes generated in the above step.
30) Now run the main.The string output would be displayed in the console.
Message from Service :This is a message from SOAP Web Service